


Reusable Epoxy Mold for Resin Casting & Woodworking
Never worry about spills and leaks again with these reusable Epoxy forms!
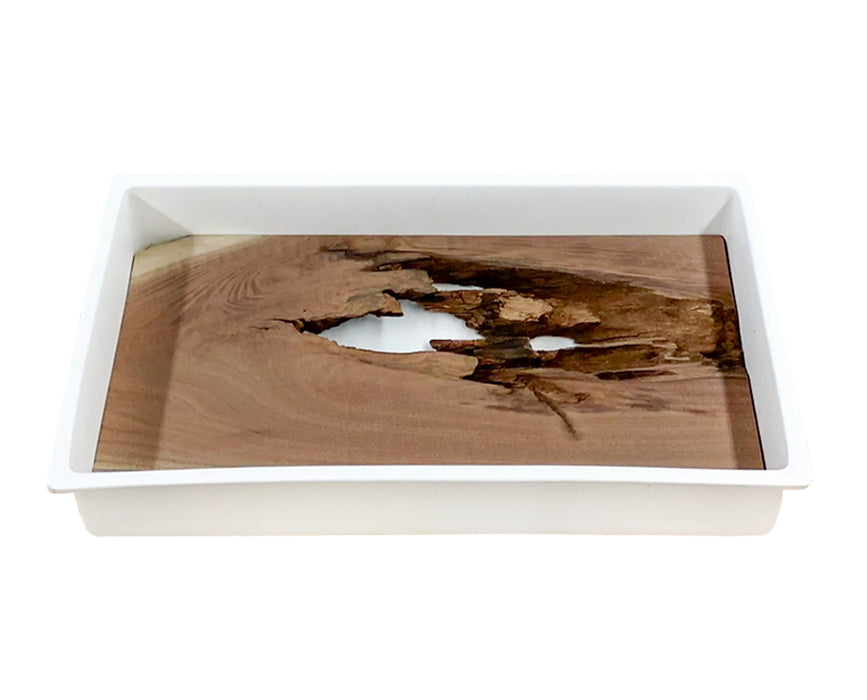
This reusable epoxy mold is vacuum formed from a single piece of material, creating a seamless resin casting form ideal for woodworking and epoxy projects. Unlike assembled molds, the one-piece construction eliminates joints where resin can escape, helping ensure cleaner pours and more consistent results.
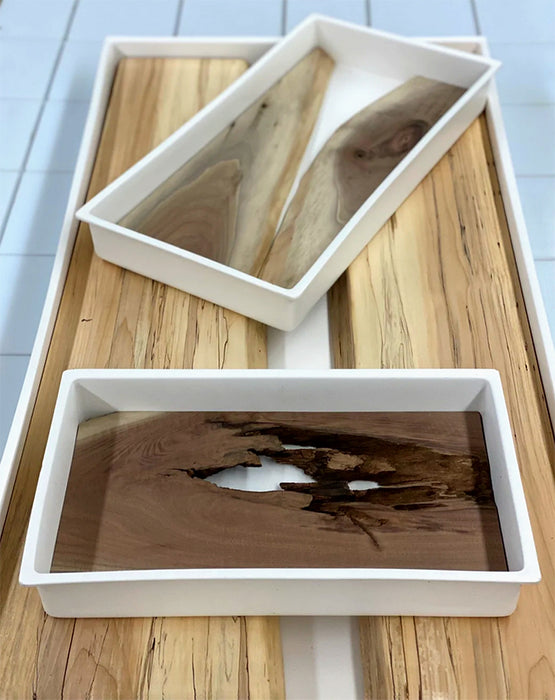
Designed for makers, woodworkers, and resin artists, this resin casting mold is ideal for creating epoxy slabs, river tables, charcuterie boards, serving boards, and other custom epoxy builds.
Simply tap the sides, turn the form over and tap the back with a mallet and watch your creation pop out of the mold. The sides are fabricated at a 7 degree to allow your project to drop out.
Place form flat on a work table, do not have it elevated (Blocks, saw horses, clamps). If elevated the form will bow due to the epoxy heating up and expanding the HMWPE.
Key features:
- One-Piece Vacuum-Formed Construction: Manufactured from a single sheet using vacuum forming, creating a seamless epoxy mold without joints.
- Reusable Resin Casting Mold: Designed for repeated epoxy pours, making it a practical alternative to disposable melamine molds.
- Huge Time Saver: With our Molds, there's no need to build a mold every time you start a project. This saves you precious time and lets you focus more on the creative aspects of your woodworking.
- Leak-Free Assurance: Say goodbye to the risk of leaking epoxy! Our molds provide a secure, contained space for your resin, giving you peace of mind as you work.
Don't forget to use our HDPE Clamping blocks to hold down your wood!
Instructions
Instructions
1. We always recommend flattening your wood before starting any epoxy project.
2. Place the piece(s) into the form in your desired design/pattern.
3. Secure the wood down using something heavy or use clamps.
4. Mix and pour your epoxy
5. Once your epoxy is fully cured (time depends on epoxy type/brand) flip the form upside down and use a rubber mallet to tap the bottom and middle of side walls to release your pour.
6. That's it! Easy!
Place form flat on a work table and clamp down to it as your reference surface; do not have it elevated (blocks, saw horses, clamps). If elevated the form will bow due to the epoxy heating up and expanding the HDPE.